Pages

Saturday, August 30, 2014

Beginning of the Year Procedures

I made it through the first few weeks of school and lived to tell about it (:  I feel like all I have done is teach procedures.  As exhausting as it can be, teaching and practicing the procedures is what helps the year run smoothly.  I thought I would share a few of the things that we spent our first few weeks doing.

#1 - Our Classroom Promise
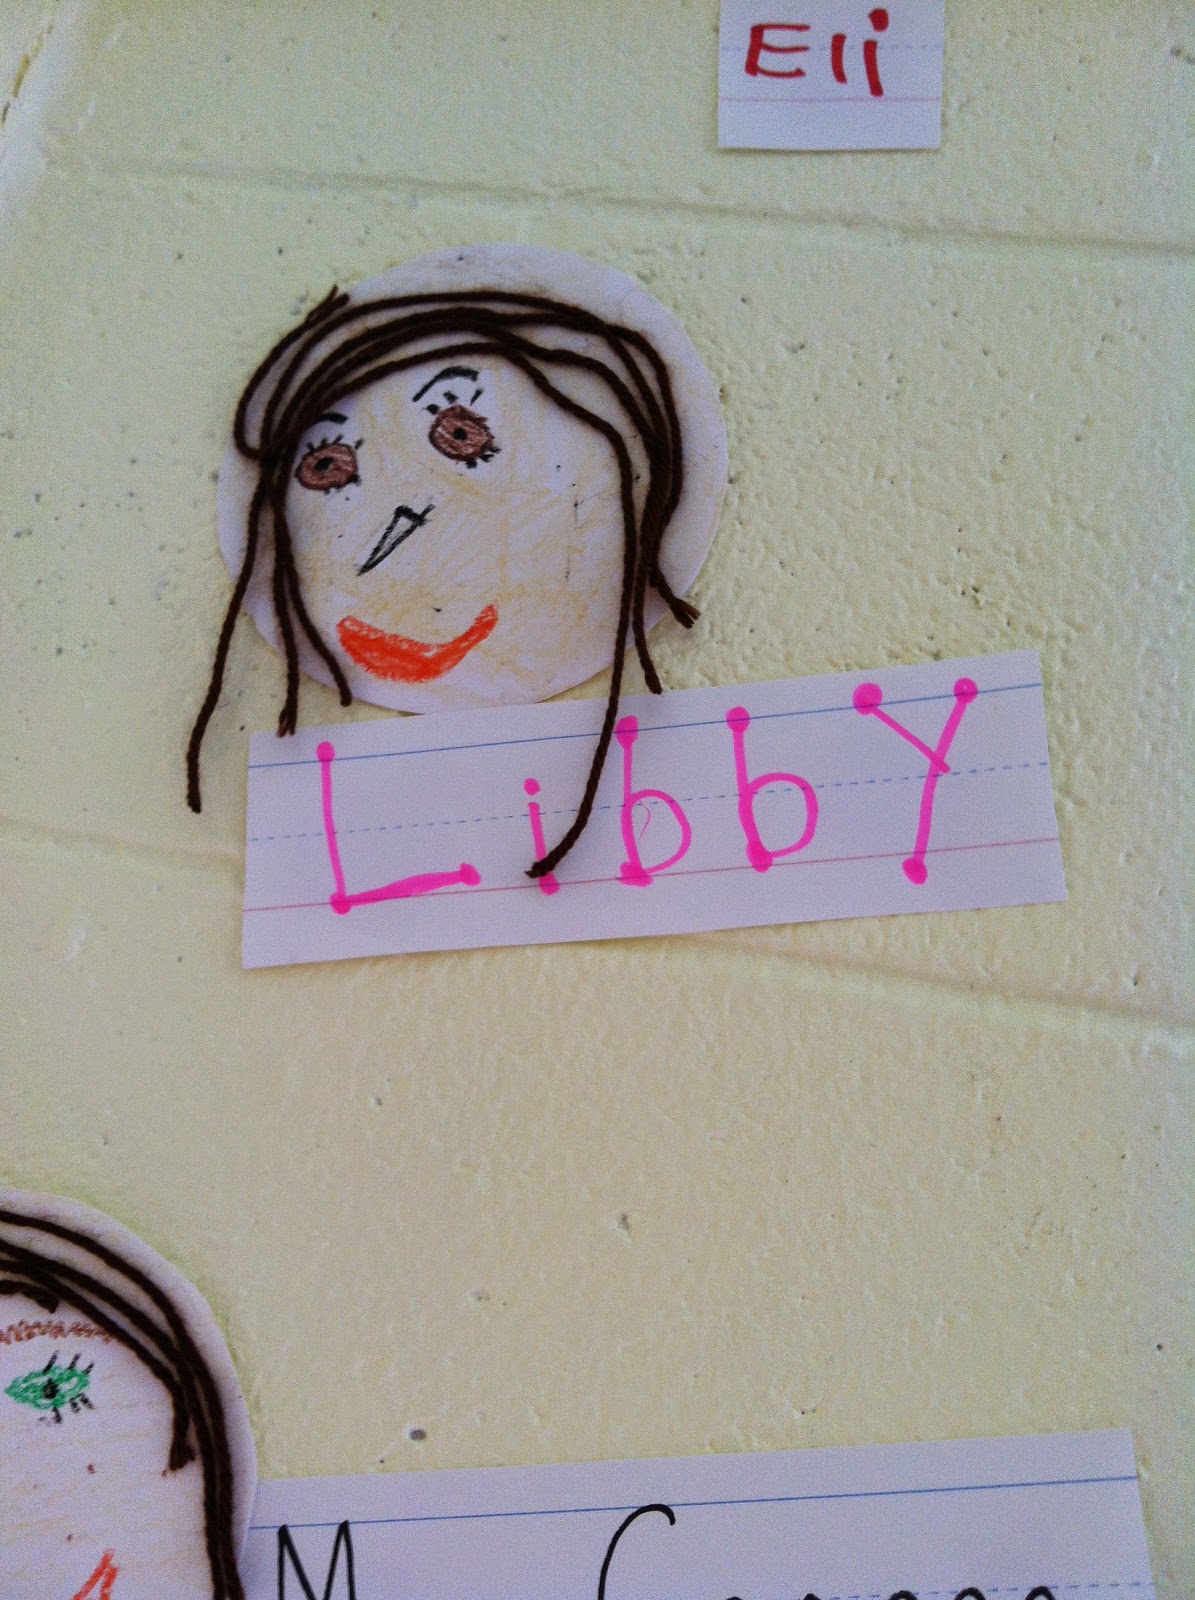
I feel that building a community in the classroom is crucial!  We spend the first day talking about the classroom promise and we discuss each part, what it means and what it will look like in our classroom.  Then, the students create their faces as their "signature" on the promise.  I hang this on the wall and we say it together every.single.day for the first few months.  I also refer back to certain parts constantly (this is who we are even when no one is watching....or when someone asks us to stop, we do!).


I can't take credit for this - my cooperating teacher when I student taught had it and then a coworker from a few years ago tweaked it so that it would rhyme.  The kids (and myself) love it!  Click on the picture below for a downloadable copy.

https://drive.google.com/?tab=wo&authuser=0#folders/0BxTlxhHrXiNDOVROcHF0cmF1WDQ

#2 - Building a Culture of Readers
Our school was a reward school for the second year in a row.  That means that we are in the top 5% of the state!  We have come such a long way in the past five years and I am blessed to work with such hard-working, incredible people.  One of the things that we do at the beginning of every year is a have a Reading Kick-Off.  People from the community came to support us.  We had the superintendent, the director of elementary schools, our state representative, high school cheerleaders, a step team and a drum line come and perform for us and every grade level creates a reading cheer.  It is so much fun and the kids always have a blast.  This year our "motto" is Set Your Goal and Aim High.  This was on the stage during our Reading Kick-Off - but then it was moved inside so we could take class pictures with it:
We took millions of class pictures with this :)  I am going to use them at the end of the year when we write about the goals that we reached!

#3 - Teaching Center Procedures
A few years ago we were expected to begin small reading groups and centers on the Monday of the first week!  It was terrible.  The kids didn't have the time to build up the stamina and they didn't fully understand what to do at each center - so basically it was a mess!  Luckily, I have AMAZING administrators and they listened to our concerns.  Now, we have the first two weeks of school to teach center procedures and build reading stamina.  And let me tell you, it is so much better.

We set up a schedule for what to teach each day during our 90 minute reading block.  Here is what it looks like:

Day 1 - Library Center
Day 2 - Library Center
Day 3 - Computer Center
Day 4 - Pocket Chart Center
Day 5 - Chalkboard Center
Day 6 - Writing Center
Day 7 - Listening Center
Day 8 - Rotation Procedures
Day 9 - 10 minute rotations
Day 10 - 12 minute rotations
Day 11 - 15 minute rotations
Day 12 - 18 minute rotations
Day 13 - 18 minute rotations
Day 14 - 20 minute rotations

Here is how the first few days go:
On day 1, we teach procedures for the library center (how to treat the books, how to properly sort the books, etc.) and we practice reading for 3 minutes.  Yep, a whole 3 minutes.  Afterwards, we create an expectation chart together:
I don't have a picture of the library one, so here is writing!
After we have created the expectation chart, I have students model examples and non-examples for the center (they love this part!).  Then, we brainstorm what we will do at library center and what we will not do at library center.  The students pick one of each and record it on this page (which we will later turn it a center expectation book):

Yay! First day of center procedures is done (:

We do this same thing every time that we teach each center, and it helps the students really understand how to do the centers.  The second day we practice for 5 minutes, then days 3 - 7 we practice for 8 minutes.  We eventually build our way up to 20 minutes!

I post our expectation charts at each center to remind the students of how they should be acting.

#4 - Books, Book and More Books!
My donorschoose project was funded! (If you have never been on this website, you should really check it out!  You create a project for what your class needs and people all over the country can donate).  We received 75 books through this project!

Then, my coworker wrote a grant and got $3,000 to spend and we bought more books!  They should be arriving any day now.  We are so blessed!

Hopefully I can get ahead this weekend and get better about posting what we are doing in my room.  How have your first days been?


Saturday, August 9, 2014

You Oughta Know About Organizing Your Computer!

I am linking up with Mrs. McClain's "You Oughta Know" blog hop this month to tell you about organizing your computer!
yououghtaknowbloghopbanner
The majority of worksheets and activities that teachers use are on the computer, but it can be pretty hard to keep track of everything.  I will show you how I organize my reading materials on the computer and hopefully you can get some ideas to help you!

First I created a new folder called 'reading'.  To create a new folder, I just 'right-clicked' on my desktop and selected 'New Folder'.  You can drag it to a different area later if you do not want it on your desktop.

My district uses the Common Core State Standards, so within my new reading folder I created two more folders: Literature and Informational Text.
(To create a new folder, I just right clicked within the reading folder and selected 'New Folder')

These next steps are a little time consuming, but VERY worth it.  Within each folder (Literature and Informational Text) I created a folder for every standard.
This is my literature folder

Then, within each of the standard folders I created four folders: PowerPoints, Resources, Tests and Worksheets.  There is a shortcut for this part!  After you create these four folders in one standard folder,  you can select these four folders and copy them.  Then, you can just paste them in the other standard folders.  Yay!
*Note - may sure these folders are empty when you copy them, otherwise everything in the folders will copy over too.

Finally, the most time consuming (but most rewarding) part - I organized all of my documents into the correct folder.  To do this, I just dragged the document into the folder where I wanted it.  I did this over the span of a few weeks and it was well worth it.  Now that all of my original documents are organized it is easy to stay organized because I just save any new documents to the corresponding folder.

And there you have it!  Organizational Perfection (:

Let me show you this in action:
If I am teaching Comparing and Contrasting (RL.1.9) and I am looking for worksheets that correspond with the standard, I know EXACTLY where they are.  All I do is click on my reading folder, click on literature, click on RL.1.9 and then click on Worksheets.  There are all of my worksheets for that standard in one place!

No more hours of searching for a specific worksheet.  No more having to spend time making materials because you can't find the ones you need.  Now you have all of your materials organized in one area.

I use this same organizational method for my math materials as well.  How do you organize your computer?  I would love to hear other suggestions.  Also, please email me if you need any help with this or have any questions!


Saturday, August 2, 2014

Unit Organization

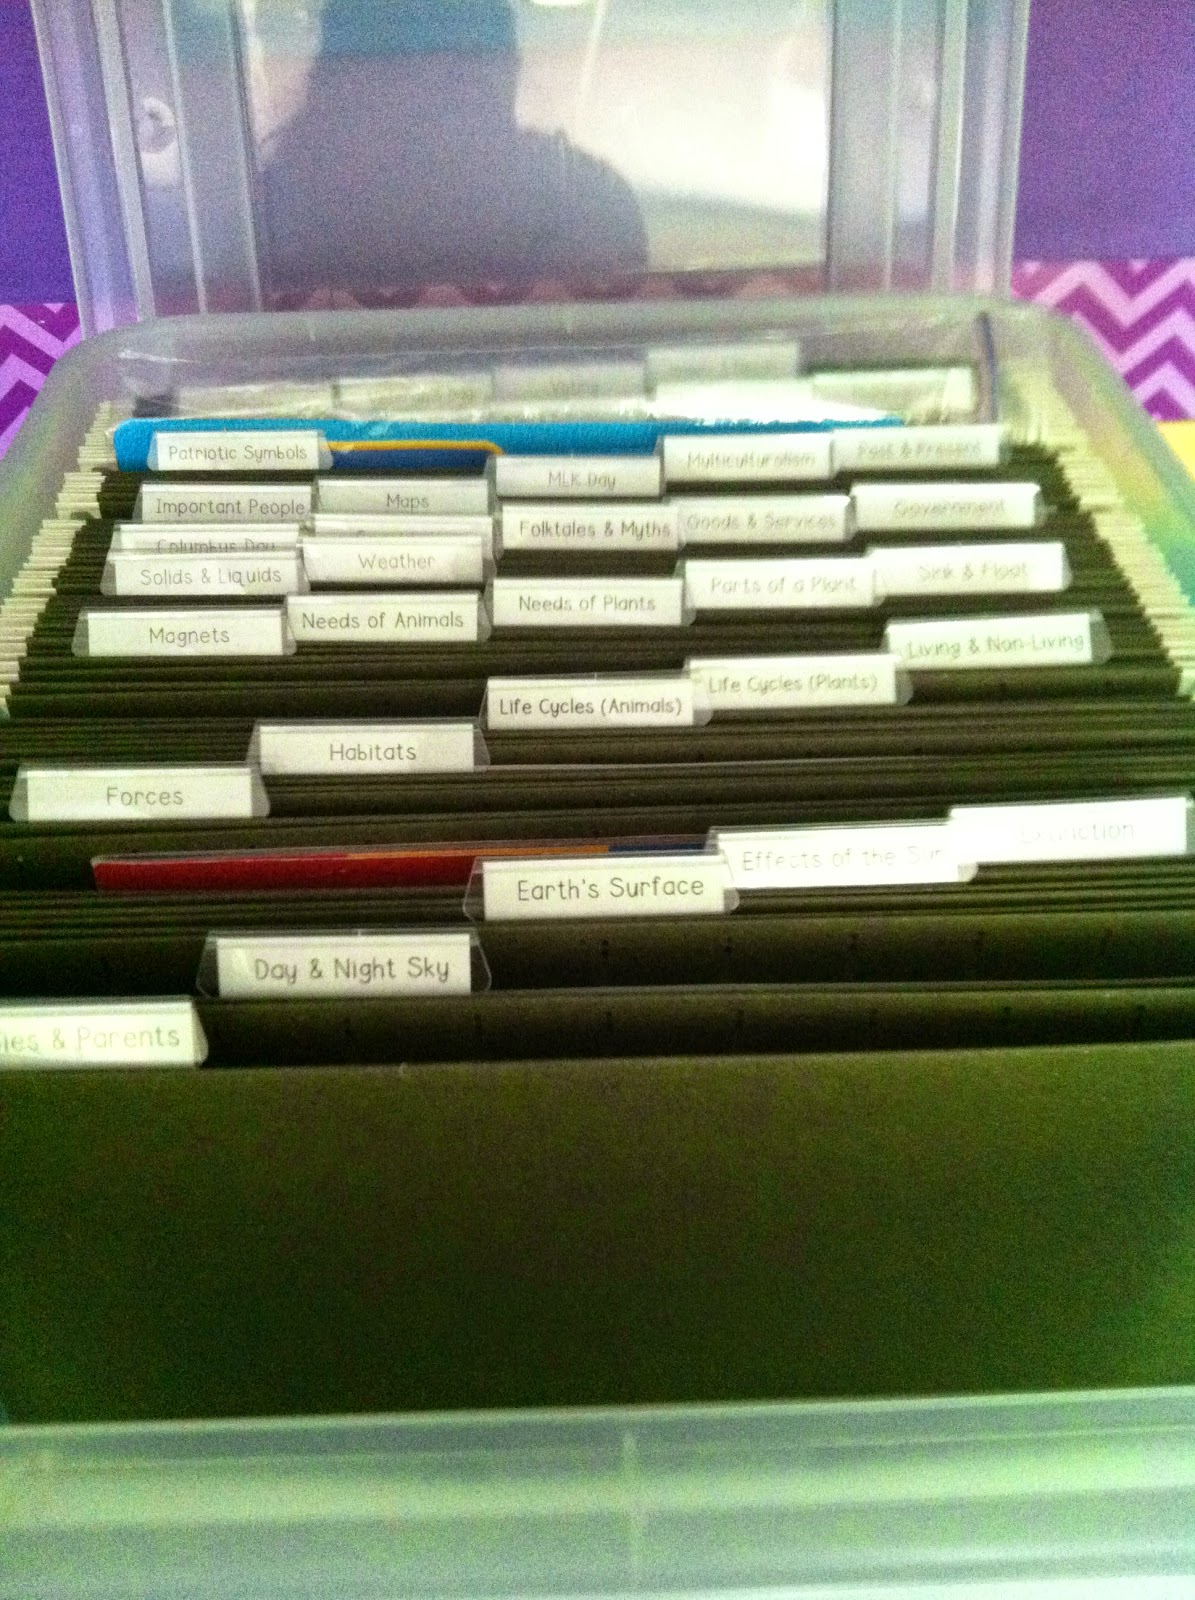
A few people have asked me about how I store my unit (science and social studies) materials, so I thought I would share with everyone.  One of the girls that I collaborate with uses this same concept to store her phonics materials and that is where I got the idea for my unit materials.  I used to keep all of the worksheets in a binder (one for science and one for social studies).  As much as I love my binders, it just wasn't working for me.  I would always forget about the books I had for each standard and it was tough to keep everything organized.  So that is why I switched to a bin.  I keep this bin in the closet on my unit shelf (see the post about it here).
The bin is from Office Depot - I really like it because it is specifically for hanging folders.

Office Depot Brand File Tote 10
I went through all of the standards and used 'key words' as my hanging folder labels.  I thought about using the actual standard, but then I figured that it would be easier to quickly find what I needed if I used the key words.  Then, I put the folders in alphabetical order.
In each folder I keep all of the activities that correspond with that standard.  I am also able to keep a few books in each folder. 
This folder is for habitats.

This folder is for living and non-living.
 All of the books for each standard don't fit in the folders, so I just put one or two in there.  I also went through all of my unit books and typed up a list of the books I have for each standard:
This is one of the pages from my science book list.
I keep this book list in the last folder in the bin so that I can quickly see what books I have for whatever standard I am teaching.

As I was putting the pictures in this post, I realized that they all happened to be of science materials.  I just want to clarify that my social studies materials are also in this bin.  I didn't separate the two subjects within the bin, just put all of the science and social studies folders together in alphabetical order. 

I hope this gives you some ideas!  Is there an organization method that you use that you really like?