Pages

Saturday, August 30, 2014

Beginning of the Year Procedures

I made it through the first few weeks of school and lived to tell about it (:  I feel like all I have done is teach procedures.  As exhausting as it can be, teaching and practicing the procedures is what helps the year run smoothly.  I thought I would share a few of the things that we spent our first few weeks doing.

#1 - Our Classroom Promise
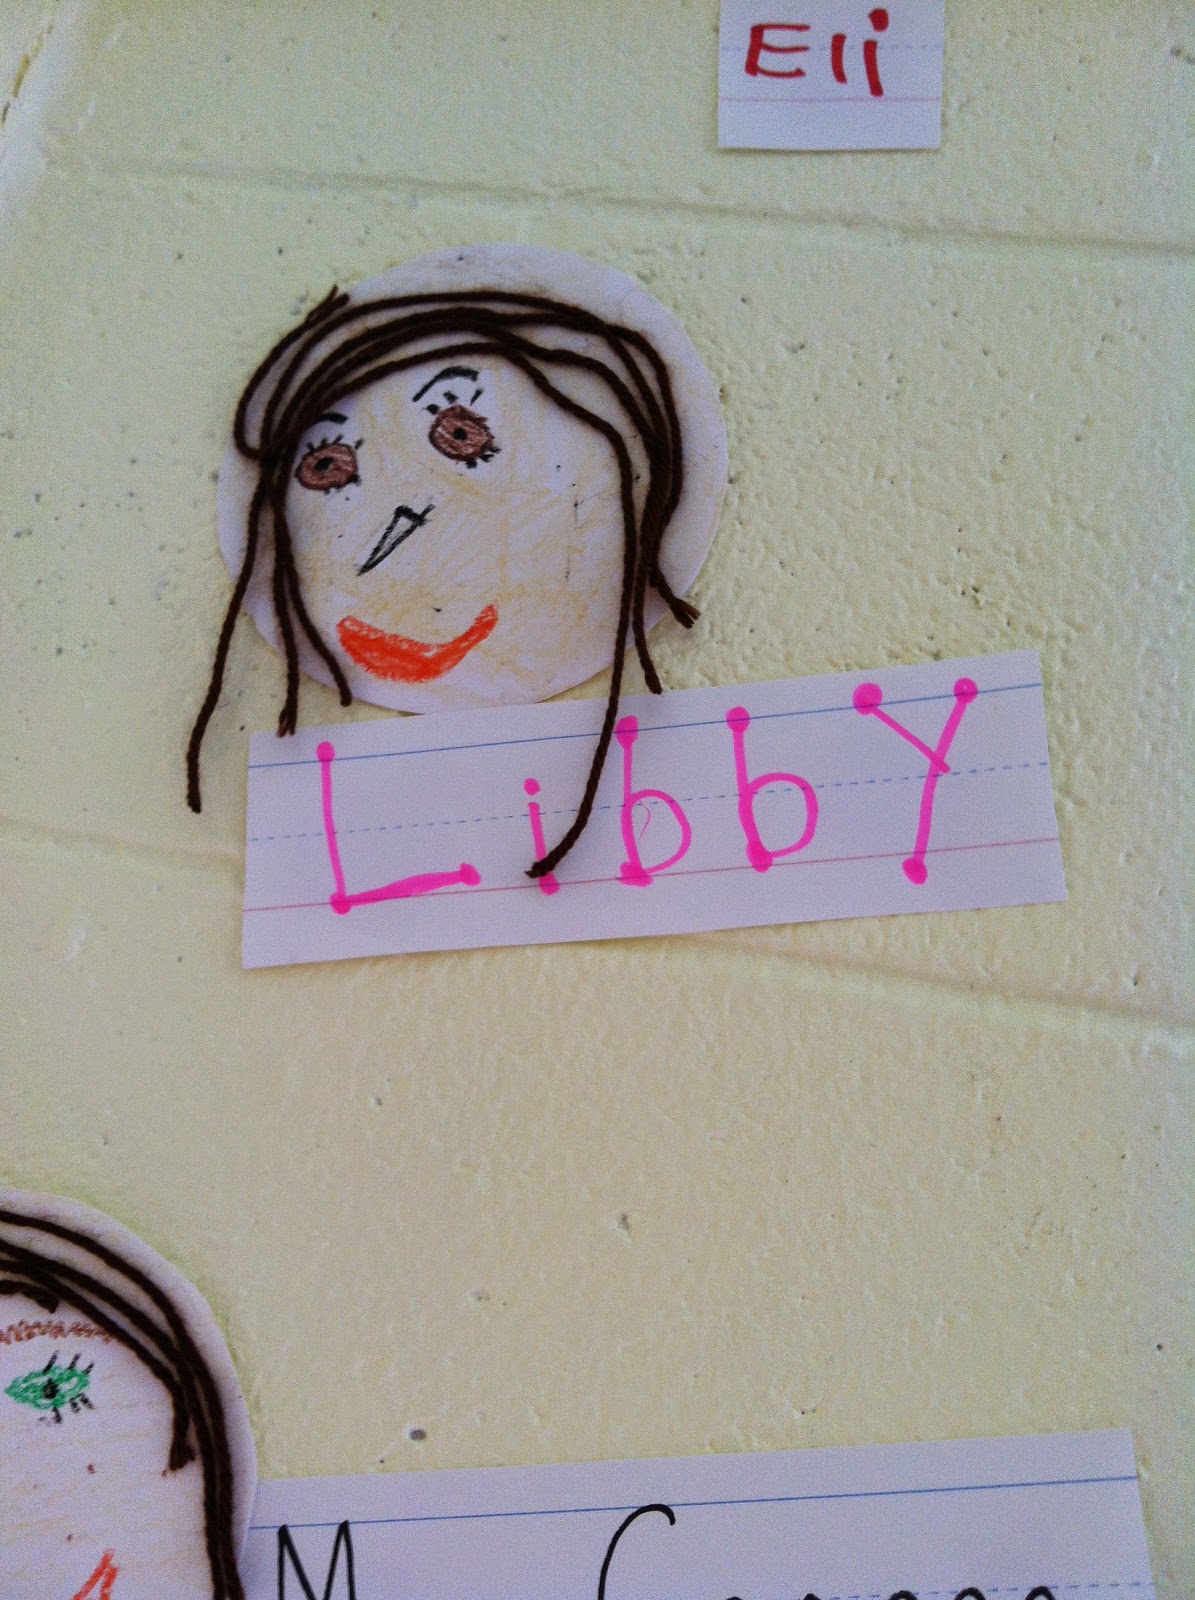
I feel that building a community in the classroom is crucial!  We spend the first day talking about the classroom promise and we discuss each part, what it means and what it will look like in our classroom.  Then, the students create their faces as their "signature" on the promise.  I hang this on the wall and we say it together every.single.day for the first few months.  I also refer back to certain parts constantly (this is who we are even when no one is watching....or when someone asks us to stop, we do!).


I can't take credit for this - my cooperating teacher when I student taught had it and then a coworker from a few years ago tweaked it so that it would rhyme.  The kids (and myself) love it!  Click on the picture below for a downloadable copy.

https://drive.google.com/?tab=wo&authuser=0#folders/0BxTlxhHrXiNDOVROcHF0cmF1WDQ

#2 - Building a Culture of Readers
Our school was a reward school for the second year in a row.  That means that we are in the top 5% of the state!  We have come such a long way in the past five years and I am blessed to work with such hard-working, incredible people.  One of the things that we do at the beginning of every year is a have a Reading Kick-Off.  People from the community came to support us.  We had the superintendent, the director of elementary schools, our state representative, high school cheerleaders, a step team and a drum line come and perform for us and every grade level creates a reading cheer.  It is so much fun and the kids always have a blast.  This year our "motto" is Set Your Goal and Aim High.  This was on the stage during our Reading Kick-Off - but then it was moved inside so we could take class pictures with it:
We took millions of class pictures with this :)  I am going to use them at the end of the year when we write about the goals that we reached!

#3 - Teaching Center Procedures
A few years ago we were expected to begin small reading groups and centers on the Monday of the first week!  It was terrible.  The kids didn't have the time to build up the stamina and they didn't fully understand what to do at each center - so basically it was a mess!  Luckily, I have AMAZING administrators and they listened to our concerns.  Now, we have the first two weeks of school to teach center procedures and build reading stamina.  And let me tell you, it is so much better.

We set up a schedule for what to teach each day during our 90 minute reading block.  Here is what it looks like:

Day 1 - Library Center
Day 2 - Library Center
Day 3 - Computer Center
Day 4 - Pocket Chart Center
Day 5 - Chalkboard Center
Day 6 - Writing Center
Day 7 - Listening Center
Day 8 - Rotation Procedures
Day 9 - 10 minute rotations
Day 10 - 12 minute rotations
Day 11 - 15 minute rotations
Day 12 - 18 minute rotations
Day 13 - 18 minute rotations
Day 14 - 20 minute rotations

Here is how the first few days go:
On day 1, we teach procedures for the library center (how to treat the books, how to properly sort the books, etc.) and we practice reading for 3 minutes.  Yep, a whole 3 minutes.  Afterwards, we create an expectation chart together:
I don't have a picture of the library one, so here is writing!
After we have created the expectation chart, I have students model examples and non-examples for the center (they love this part!).  Then, we brainstorm what we will do at library center and what we will not do at library center.  The students pick one of each and record it on this page (which we will later turn it a center expectation book):

Yay! First day of center procedures is done (:

We do this same thing every time that we teach each center, and it helps the students really understand how to do the centers.  The second day we practice for 5 minutes, then days 3 - 7 we practice for 8 minutes.  We eventually build our way up to 20 minutes!

I post our expectation charts at each center to remind the students of how they should be acting.

#4 - Books, Book and More Books!
My donorschoose project was funded! (If you have never been on this website, you should really check it out!  You create a project for what your class needs and people all over the country can donate).  We received 75 books through this project!

Then, my coworker wrote a grant and got $3,000 to spend and we bought more books!  They should be arriving any day now.  We are so blessed!

Hopefully I can get ahead this weekend and get better about posting what we are doing in my room.  How have your first days been?


Saturday, August 9, 2014

You Oughta Know About Organizing Your Computer!

I am linking up with Mrs. McClain's "You Oughta Know" blog hop this month to tell you about organizing your computer!
yououghtaknowbloghopbanner
The majority of worksheets and activities that teachers use are on the computer, but it can be pretty hard to keep track of everything.  I will show you how I organize my reading materials on the computer and hopefully you can get some ideas to help you!

First I created a new folder called 'reading'.  To create a new folder, I just 'right-clicked' on my desktop and selected 'New Folder'.  You can drag it to a different area later if you do not want it on your desktop.

My district uses the Common Core State Standards, so within my new reading folder I created two more folders: Literature and Informational Text.
(To create a new folder, I just right clicked within the reading folder and selected 'New Folder')

These next steps are a little time consuming, but VERY worth it.  Within each folder (Literature and Informational Text) I created a folder for every standard.
This is my literature folder

Then, within each of the standard folders I created four folders: PowerPoints, Resources, Tests and Worksheets.  There is a shortcut for this part!  After you create these four folders in one standard folder,  you can select these four folders and copy them.  Then, you can just paste them in the other standard folders.  Yay!
*Note - may sure these folders are empty when you copy them, otherwise everything in the folders will copy over too.

Finally, the most time consuming (but most rewarding) part - I organized all of my documents into the correct folder.  To do this, I just dragged the document into the folder where I wanted it.  I did this over the span of a few weeks and it was well worth it.  Now that all of my original documents are organized it is easy to stay organized because I just save any new documents to the corresponding folder.

And there you have it!  Organizational Perfection (:

Let me show you this in action:
If I am teaching Comparing and Contrasting (RL.1.9) and I am looking for worksheets that correspond with the standard, I know EXACTLY where they are.  All I do is click on my reading folder, click on literature, click on RL.1.9 and then click on Worksheets.  There are all of my worksheets for that standard in one place!

No more hours of searching for a specific worksheet.  No more having to spend time making materials because you can't find the ones you need.  Now you have all of your materials organized in one area.

I use this same organizational method for my math materials as well.  How do you organize your computer?  I would love to hear other suggestions.  Also, please email me if you need any help with this or have any questions!


Saturday, August 2, 2014

Unit Organization

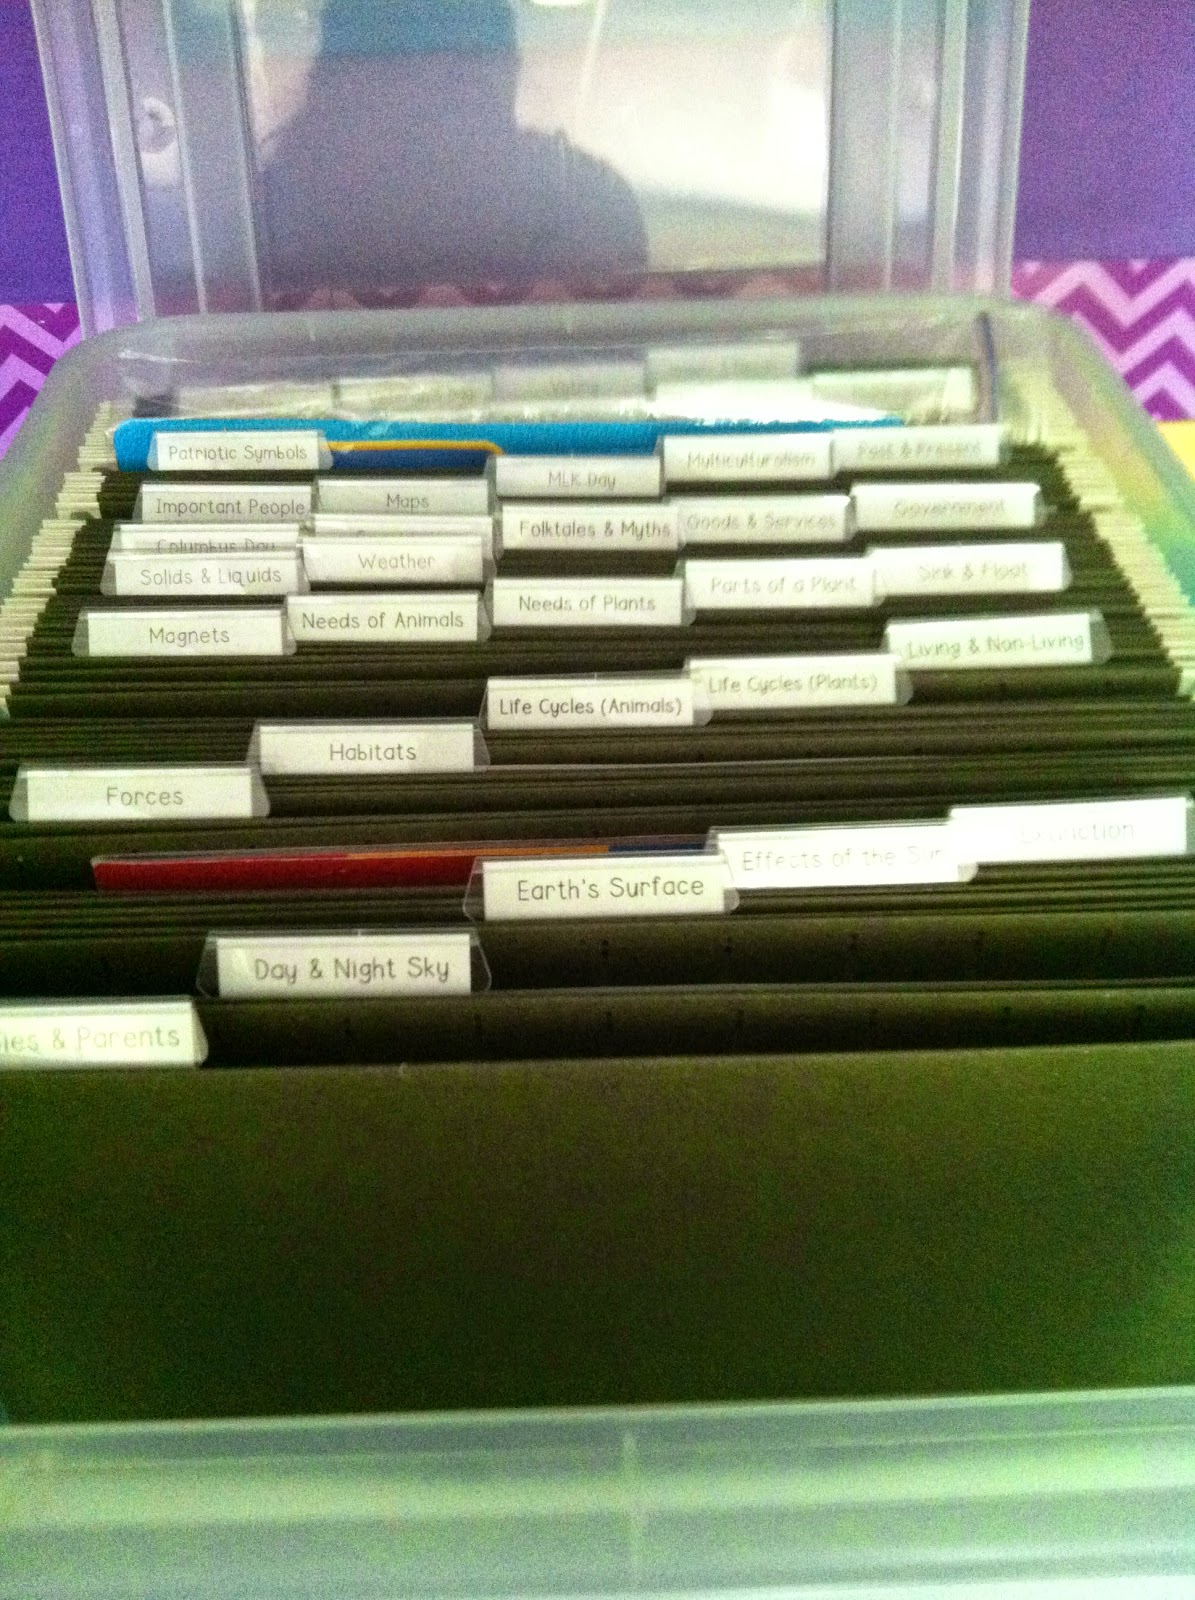
A few people have asked me about how I store my unit (science and social studies) materials, so I thought I would share with everyone.  One of the girls that I collaborate with uses this same concept to store her phonics materials and that is where I got the idea for my unit materials.  I used to keep all of the worksheets in a binder (one for science and one for social studies).  As much as I love my binders, it just wasn't working for me.  I would always forget about the books I had for each standard and it was tough to keep everything organized.  So that is why I switched to a bin.  I keep this bin in the closet on my unit shelf (see the post about it here).
The bin is from Office Depot - I really like it because it is specifically for hanging folders.

Office Depot Brand File Tote 10
I went through all of the standards and used 'key words' as my hanging folder labels.  I thought about using the actual standard, but then I figured that it would be easier to quickly find what I needed if I used the key words.  Then, I put the folders in alphabetical order.
In each folder I keep all of the activities that correspond with that standard.  I am also able to keep a few books in each folder. 
This folder is for habitats.

This folder is for living and non-living.
 All of the books for each standard don't fit in the folders, so I just put one or two in there.  I also went through all of my unit books and typed up a list of the books I have for each standard:
This is one of the pages from my science book list.
I keep this book list in the last folder in the bin so that I can quickly see what books I have for whatever standard I am teaching.

As I was putting the pictures in this post, I realized that they all happened to be of science materials.  I just want to clarify that my social studies materials are also in this bin.  I didn't separate the two subjects within the bin, just put all of the science and social studies folders together in alphabetical order. 

I hope this gives you some ideas!  Is there an organization method that you use that you really like?


Thursday, July 31, 2014

Getting Ready with a Freebie

I am so excited for the TpT sale coming up in a few days (:  I have been going through my wishlist trying to decide what I am going to buy during the back to school sale and I am having a very hard time narrowing it down!  I am also going to be participating in the sale - yay!!
http://www.teacherspayteachers.com/Store/Katie-George
Everything in my store will be 20% off (:  Also, I will have the phonics packs uploaded and ready!

I have uploaded another phonics freebie to my store, so head on over and check it out!  It is just a couple worksheets for beginning blends.
http://www.teacherspayteachers.com/Product/Phonics-Set-for-Beginning-Blends-Freebie-1360215

Only a few more days until the TpT sale!!!!!!


Wednesday, July 30, 2014

Finishing Touches

I put all of the finishing touches on my room and I am *think* I am ready for the students!  I thought I would share the final touches with you.

#1 - The closet:
My husband came in and put in the wooden pieces to hold up those pesky shelves that kept falling, so I was able to get that all organized.
I have the shelves organized in a way that works really well for me!
The left side (top to bottom):
The top shelf is the "random" shelf. 
The next shelf is my writing shelf.  Everything in the two tubs is writing related.
Underneath that shelf is my unit shelf.  The bin on the left side holds kits and activities.  The bin on the right side has hanging folders that are organized by standard.  There are corresponding worksheets and books in each folder.
Next is my math shelf.  This is where I keep all of my math kits.
I keep my big books on the next shelf and the bottom shelf holds the blue tubs of my 'teacher books'.

The right side (top to bottom):
The top shelf has extra notebooks and folders.
The next shelf holds my construction paper and handwriting paper.
Underneath that is the shelf that holds two tubs.  The tub on the left has the materials that correspond with the Journeys reading series that we use and the tub on the left has student information.
Next is the shelf that holds my posters and the bottom shelf has the blue tubs of 'teacher books'.

#2 - The word wall:
I couldn't find any alphabet posters that matched my color scheme so I made my own!  The consonants are purple and the vowels are orange. 
I used my clipart that I got earlier this summer from the Pink Cat Studio (:  I had them printed at Kinko's and then laminated at my school.  I just finished hanging them up this morning!
I will put the students' names on the wall before Back to School Night.  Then, we add high frequency words each week.

#3 - Team points:
Last year I kept a tally of 'team points' on the whiteboard.  This encouraged students to work together as a team.  My coworker had a much cuter idea that I borrowed this year (:  I hung a poster above each group.  Instead of earning team points, the students can work together as a team to earn clothespins on their poster.  When a team reaches 10 clothespins, they earn 2 Bear Bucks (the positive reinforcement program that my school uses).  Then, I take the 10 clothespins off and the team starts over.

A few years ago, whichever team had the most points at the end of the week would get 2 Bear Bucks and I would erase all of the points and each team would start over fresh the next week.  I found teams would 'give up' or stop working together.  So now, if a team reaches 10 points, they start back over at 0, but the other teams still continue working towards their 10 points.  It works much better for student motivation!

#4 - My reading area:
This has been my catch all disaster area while I have been putting my room back together.  I finally got it cleaned off and ready!
 #5 - A shelf for my binders:
My husband was supposed to build a shelf for me.  Then he got kidney stones.  He has been miserable for the past few days so I had to come up with a different option.  And I found one!
I bought four crates from Wal-Mart and found that they are made to connect now.  I also used zip-ties to make sure they don't move.  Then, I cut boards to put on the bottom of each crate (that's right - I cut the boards!!).  The binders fit perfectly!
Yay!  I love how everything turned out.  The very last (frivolous) thing that I want to do for my room is to find some orange fabric to  make curtains for my windows.  I'm loving these so far.  I'm headed to Hobby Lobby this weekend to look for some fabric.  Hopefully I can find something!  Flannel Cookie Dots Orange Polka Dot Tonal Tone On Tone Novelty Quilt   Polka Dot Basics Fabric Orange Medium Tone On Tone Dots From Riley    Chevron Tone on Tone Orange M

**Update - I found fabric and made some curtains today.  I love how they turned out! 


How are your rooms coming along?  Leave me a comment with a link to your classroom pictures.  I would love to check them out!


Saturday, July 26, 2014

Welcome to my Classroom

At the end of the school year, we have to take everything off of the walls and stack all of the furniture on the counter.  When it comes to the beginning of the school year, it can make for an overwhelming first week back!  So I have spent this week organizing my classroom and have lots of pictures to share with you!

Remember what my room looked like after I had packed it all up in May?
Phew!  I had a lot of work to do :)

The first thing I did was clean out (and reorganize) my closet.  I got it all organized and then...
The pegs holding up a few of my shelves broke!!  So I had to move things around and try to figure out a plan.  I came up with the idea of drilling wood into the side of the closet and setting the shelf on that!  Voila :)  I'm just waiting for my husband to come in and fix it!

After I got my closet all in order the next step was to tackle the counter that was stacked high with everything under the sun!


I put the furniture where it went and then moved everything else to my reading table.  Yep, I just relocated the mess :)
But - with the counter being cleaned off I was able to set up my classroom library (the book bins underneath the counter) and the bulletin board.  I took the butcher paper down and used fabric this year and I LOVE how it turned out!

The two pocket charts on the left are for the vocabulary words and spelling words each week, the pocket chart in the middle is where I write the daily targets, and the area on the right is the calendar area.

After I finished that, I fixed up the other two bulletin boards using fabric!


The top picture is the bulletin board above my writing center and the bottom picture is the bulletin board as you walk into my classroom.  Not sure what I am going to put on the writing one yet and the bulletin board in the bottom picture is only temporary ("Hoppy" Helpers for Open House Night) - but they look pretty!!  If you look at the bottom picture, you will see my Ikea organizer - I L.O.V.E. this organizer!  It holds the crayons, colored pencils, markers, scissors, glue, paper and rulers for the kids.  They never have to ask me for supplies because it is all right there!

My next step was putting together the groups of desks.  I have 5 desks in each group (but 6 could fit if I need to add more).  I even put their open house papers and welcome bags out!


My husband built me the shelves that are in between the desks a few years ago and they are one of my favorite things!  The kids love them too!

Next, I organized all of my math manipulatives into another Ikea organizer (this was an easy step!)

The last thing I worked on was setting up each area for my centers.  I think I even found a way to organize the materials in these bins!!  Check it out here (:
 
I still have a few things left to do, but I am very happy with how much I got accomplished!   My to do list for the rest of this week includes:


#1 - Find (and put up) letters for my word wall - the green area that is painted on my wall is for my word wall!


 #2 - Clean off the area of disaster. (It is getting better!)


#3 - Find a shelf for my binders!

I love the beginning of the year and seeing everyone's classroom pictures!!  I feel productive when I look at the before and after pictures of my room!!

Before:

After:


I would love to see pictures of your classrooms!!  Leave a comment with a link to your blog (: