Pages

Showing posts with label Classroom. Show all posts

Saturday, August 1, 2015

A Sneak Peek

I stepped foot into my brand new room a few days ago and had a million things going through my head:
- I can't believe summer is really over :(
- Maybe I should have just stayed in first grade, I know exactly what to do there...
- Where am I going to put everything?
- Thank goodness she left me so much stuff!
- What in the world was I thinking??

And the list goes on and on.

I am beyond excited to be the reading teacher for K-2, but at the same time I am scared out of my mind.  So when I walked into my new room all of the fears overwhelmed me.  I didn't even know where to start.  So what did I do?  Took every single thing out of each and every cabinet and spread it all across the floor to create the biggest disaster I could.  Yep, that makes a lot of sense, right?  But I did have a good reason for doing it.  By pulling everything out I was able to see what I actually had in the room.  That way I wouldn't go through the entire year not even realizing I had the 'perfect resource' because it was tucked into the back corner of a cabinet.   Here is what the room looked like after I emptied out the top cabinets...the bottom ones are all still full.

So after I emptied everything out and I could barely walk around the room the next step was to...panic.  I almost started crying - haha.  I had so many resources (yay!) but no idea how to organize them.  Plus, I went from having a huge closet in my old classroom to just this small space for storage.  I freaked out for about five minutes and considered going home and coming back a day or two later.  But, I finally calmed down and decided to group the resources.  Once I started doing that, things got pretty easy (and I started to breathe again).  I was able to group all of my resources and fit them back in the cabinets in a way that would make it easy for me to find and use all of them.  And that is what I am going to share with you today!

After I grouped everything I decided that I wanted to make labels for the cabinets so I could quickly find the materials I needed.  Jackie over at Inspired to the Core introduced me to my new favorite app - A Beautiful Mess.  It was only 0.99 and I use it for everything.  So I obviously had to use it to create my cabinet labels.  Here they are:


One of my favorite things about this app is that when you get the pictures printed they come out as a 4x4.  So cute!  I created all of the labels, picked them up at Walgreens and glued them on to black card stock.  I absolutely love how they turned out.

Then, I put everything back into the cabinets and stuck my labels on.

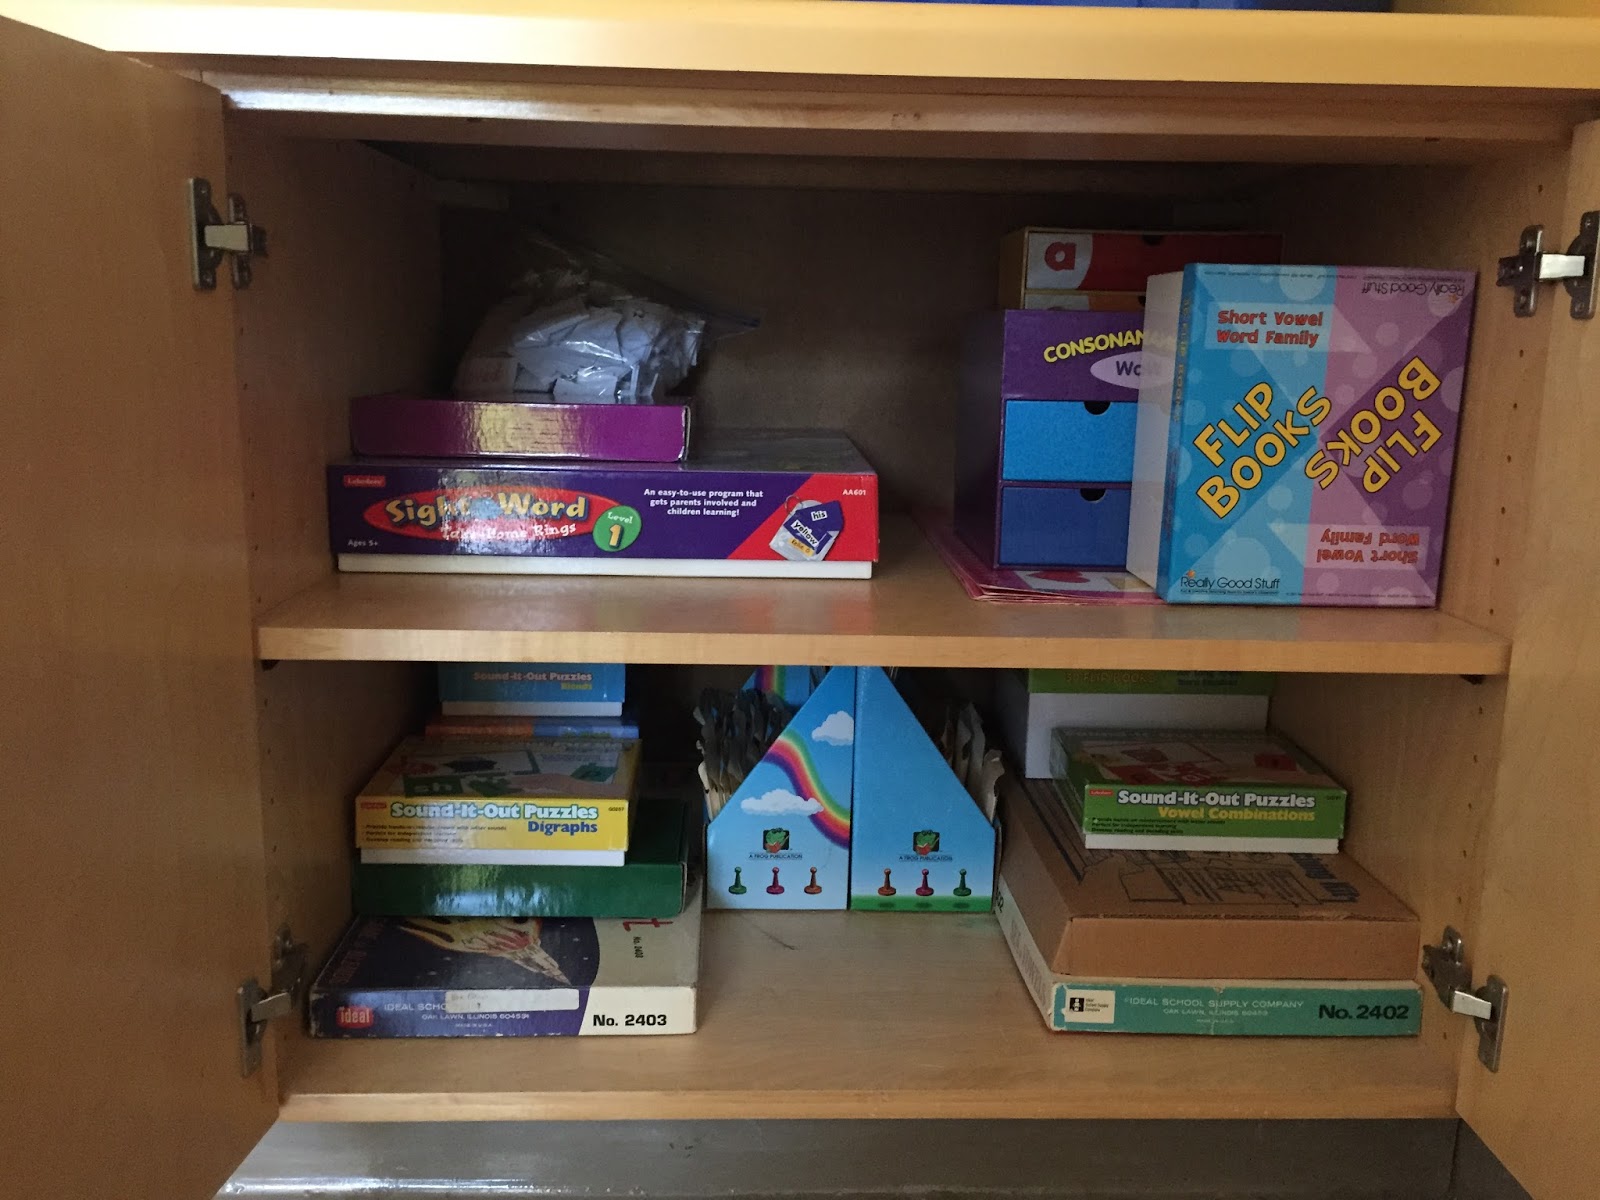
Here is how I organized this cabinet (since you can't really read the labels):
Top left - letter recognition
Top right - rhyming
Bottom left - beginning, middle and ending sounds
Bottom right - word families


These cabinets still need some work - the labels just say phonics resources (because that is what both of those bins hold).  The best kept secret when you have cabinets like these??  Having your handy husband cut extra shelves!  There is so much wasted space on the top of this cabinet, so I took the measurements and my husband is going to cut another shelf for me so I can make better use of the space.  It will just hold posters, chart paper and the offices, but still!


These cabinets have:
Top left - sight words
Top right - CVC activities
Bottom left - blends & digraphs
Bottom right - long vowels

Hooray!  The bottom cabinets are organized and I can walk around the classroom without falling over everything.

The top cabinets are still a work in progress - just like the rest of the room.  But one step at a time right?  I am heading back in to work on it some more on Tuesday - so hopefully I can do another sneak peek once I get things organized and set up!

How are your classrooms coming along?  I'd love to hear about them :)


Wednesday, July 30, 2014

Finishing Touches

I put all of the finishing touches on my room and I am *think* I am ready for the students!  I thought I would share the final touches with you.

#1 - The closet:
My husband came in and put in the wooden pieces to hold up those pesky shelves that kept falling, so I was able to get that all organized.
I have the shelves organized in a way that works really well for me!
The left side (top to bottom):
The top shelf is the "random" shelf. 
The next shelf is my writing shelf.  Everything in the two tubs is writing related.
Underneath that shelf is my unit shelf.  The bin on the left side holds kits and activities.  The bin on the right side has hanging folders that are organized by standard.  There are corresponding worksheets and books in each folder.
Next is my math shelf.  This is where I keep all of my math kits.
I keep my big books on the next shelf and the bottom shelf holds the blue tubs of my 'teacher books'.

The right side (top to bottom):
The top shelf has extra notebooks and folders.
The next shelf holds my construction paper and handwriting paper.
Underneath that is the shelf that holds two tubs.  The tub on the left has the materials that correspond with the Journeys reading series that we use and the tub on the left has student information.
Next is the shelf that holds my posters and the bottom shelf has the blue tubs of 'teacher books'.

#2 - The word wall:
I couldn't find any alphabet posters that matched my color scheme so I made my own!  The consonants are purple and the vowels are orange. 
I used my clipart that I got earlier this summer from the Pink Cat Studio (:  I had them printed at Kinko's and then laminated at my school.  I just finished hanging them up this morning!
I will put the students' names on the wall before Back to School Night.  Then, we add high frequency words each week.

#3 - Team points:
Last year I kept a tally of 'team points' on the whiteboard.  This encouraged students to work together as a team.  My coworker had a much cuter idea that I borrowed this year (:  I hung a poster above each group.  Instead of earning team points, the students can work together as a team to earn clothespins on their poster.  When a team reaches 10 clothespins, they earn 2 Bear Bucks (the positive reinforcement program that my school uses).  Then, I take the 10 clothespins off and the team starts over.

A few years ago, whichever team had the most points at the end of the week would get 2 Bear Bucks and I would erase all of the points and each team would start over fresh the next week.  I found teams would 'give up' or stop working together.  So now, if a team reaches 10 points, they start back over at 0, but the other teams still continue working towards their 10 points.  It works much better for student motivation!

#4 - My reading area:
This has been my catch all disaster area while I have been putting my room back together.  I finally got it cleaned off and ready!
 #5 - A shelf for my binders:
My husband was supposed to build a shelf for me.  Then he got kidney stones.  He has been miserable for the past few days so I had to come up with a different option.  And I found one!
I bought four crates from Wal-Mart and found that they are made to connect now.  I also used zip-ties to make sure they don't move.  Then, I cut boards to put on the bottom of each crate (that's right - I cut the boards!!).  The binders fit perfectly!
Yay!  I love how everything turned out.  The very last (frivolous) thing that I want to do for my room is to find some orange fabric to  make curtains for my windows.  I'm loving these so far.  I'm headed to Hobby Lobby this weekend to look for some fabric.  Hopefully I can find something!  Flannel Cookie Dots Orange Polka Dot Tonal Tone On Tone Novelty Quilt   Polka Dot Basics Fabric Orange Medium Tone On Tone Dots From Riley    Chevron Tone on Tone Orange M

**Update - I found fabric and made some curtains today.  I love how they turned out! 


How are your rooms coming along?  Leave me a comment with a link to your classroom pictures.  I would love to check them out!


Saturday, July 26, 2014

Welcome to my Classroom

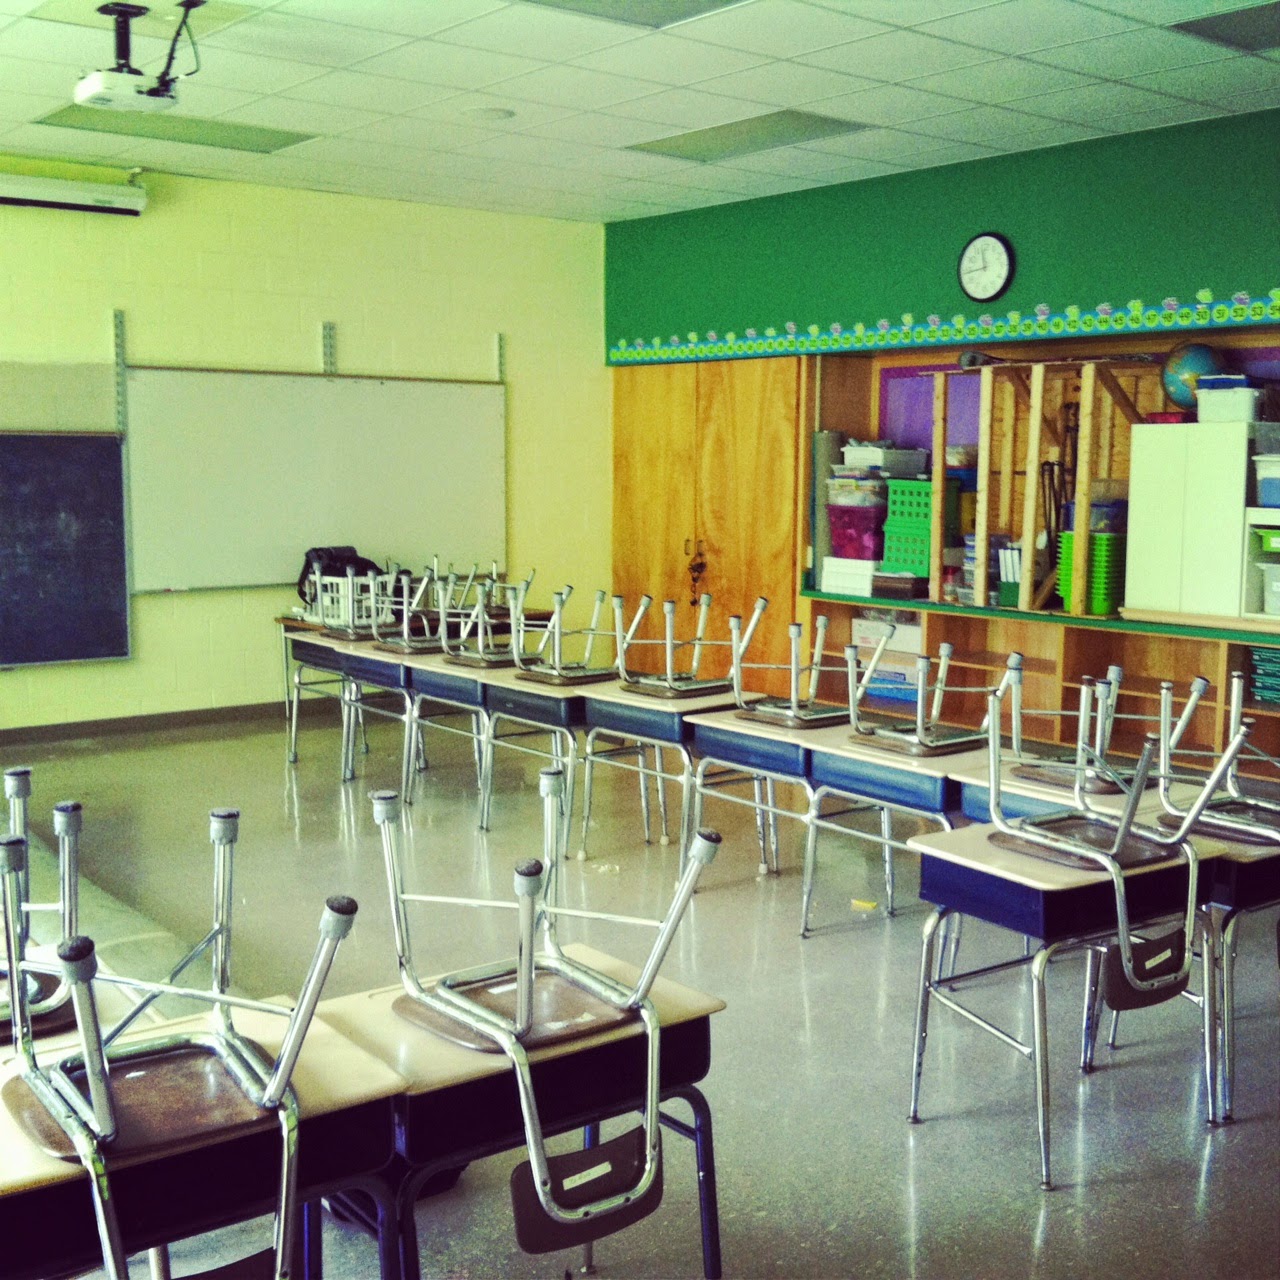
At the end of the school year, we have to take everything off of the walls and stack all of the furniture on the counter.  When it comes to the beginning of the school year, it can make for an overwhelming first week back!  So I have spent this week organizing my classroom and have lots of pictures to share with you!

Remember what my room looked like after I had packed it all up in May?
Phew!  I had a lot of work to do :)

The first thing I did was clean out (and reorganize) my closet.  I got it all organized and then...
The pegs holding up a few of my shelves broke!!  So I had to move things around and try to figure out a plan.  I came up with the idea of drilling wood into the side of the closet and setting the shelf on that!  Voila :)  I'm just waiting for my husband to come in and fix it!

After I got my closet all in order the next step was to tackle the counter that was stacked high with everything under the sun!


I put the furniture where it went and then moved everything else to my reading table.  Yep, I just relocated the mess :)
But - with the counter being cleaned off I was able to set up my classroom library (the book bins underneath the counter) and the bulletin board.  I took the butcher paper down and used fabric this year and I LOVE how it turned out!

The two pocket charts on the left are for the vocabulary words and spelling words each week, the pocket chart in the middle is where I write the daily targets, and the area on the right is the calendar area.

After I finished that, I fixed up the other two bulletin boards using fabric!


The top picture is the bulletin board above my writing center and the bottom picture is the bulletin board as you walk into my classroom.  Not sure what I am going to put on the writing one yet and the bulletin board in the bottom picture is only temporary ("Hoppy" Helpers for Open House Night) - but they look pretty!!  If you look at the bottom picture, you will see my Ikea organizer - I L.O.V.E. this organizer!  It holds the crayons, colored pencils, markers, scissors, glue, paper and rulers for the kids.  They never have to ask me for supplies because it is all right there!

My next step was putting together the groups of desks.  I have 5 desks in each group (but 6 could fit if I need to add more).  I even put their open house papers and welcome bags out!


My husband built me the shelves that are in between the desks a few years ago and they are one of my favorite things!  The kids love them too!

Next, I organized all of my math manipulatives into another Ikea organizer (this was an easy step!)

The last thing I worked on was setting up each area for my centers.  I think I even found a way to organize the materials in these bins!!  Check it out here (:
 
I still have a few things left to do, but I am very happy with how much I got accomplished!   My to do list for the rest of this week includes:


#1 - Find (and put up) letters for my word wall - the green area that is painted on my wall is for my word wall!


 #2 - Clean off the area of disaster. (It is getting better!)


#3 - Find a shelf for my binders!

I love the beginning of the year and seeing everyone's classroom pictures!!  I feel productive when I look at the before and after pictures of my room!!

Before:

After:


I would love to see pictures of your classrooms!!  Leave a comment with a link to your blog (:

Wednesday, July 23, 2014

Back to School

I was able to get back into my classroom this week and I feel like everything has been a blur ever since I got my key!  Before I start posting about my classroom set-up (don't worry, I have LOTS of pictures to share), I wanted to try to get my phonics packs finished up.  So I have good news!  I have finished the beginning letter sound picture sort and it is on sale (for today only!).
Click on the picture to grab it while it is on sale :)

http://www.teacherspayteachers.com/Product/Beginning-Letter-Sounds-Phonics-Activity-1342646

I will post my short vowel phonics pack the first week of August (I just have a few finishing touches left on that one).

 I can't wait to share all of my classroom pictures with you - here is the before and after picture of the counter area in my room:


It's all coming together!  I will post all of the pictures soon :)